 The woodworking rabbit hole I've fallen far, far into is filled with wonderful people, stories and ideas. There are more projects and materials and techniques than could be enjoyed in one lifetime. In many of the blogs, social media posts, videos, websites etc. there's a common refrain about striving for perfection in this craft. Perfection is a little bottle with a tag that says "drink me."
The rough timber, planed to a perfectly flat and square board; the complex joint that goes together as if the tree grew that way; the ideal grain - these are the places where I hear about the pursuit of perfection the most. One maker I follow uses machinist's feeler gauges to confirm flatness. Another brings out an electronic micrometer that measures to the thousandths of an inch. I'm awed by the skill of these woodworkers. But I've stopped trying to keep up. Fundamental to all woodworking - and part of what makes this craft so deeply beautiful - is the understanding that wood always moves. I've had the experience of hand planing for far too long, trying to achieve perfect flatness and squareness, and been thoroughly disheartened when it moved in the humidity. Here's what I learned: no one notices minor shifts in boards. Wood always moves, even after it's built into something. In the end, if it looks flat and square, and all the joints go together properly, it's successful. The whole point of woodworking is to convey that fundamental deep beauty. There's something better than perfection: grace. When I look at one of my first boxes, I see all the imperfections. I notice tiny gaps in the joints. I know where the rough spots are. The feet are pretty close to identical. I can tell you where the split in the grain was repaired. But the box is still beautiful. It was a joy to make. It taught me a lot about the craft of woodworking - perhaps more than if it were absolutely flawless. I wouldn't change a thing. Grace is by far the best tool to reveal the deep beauty of this craft. Drink up.
0 Comments
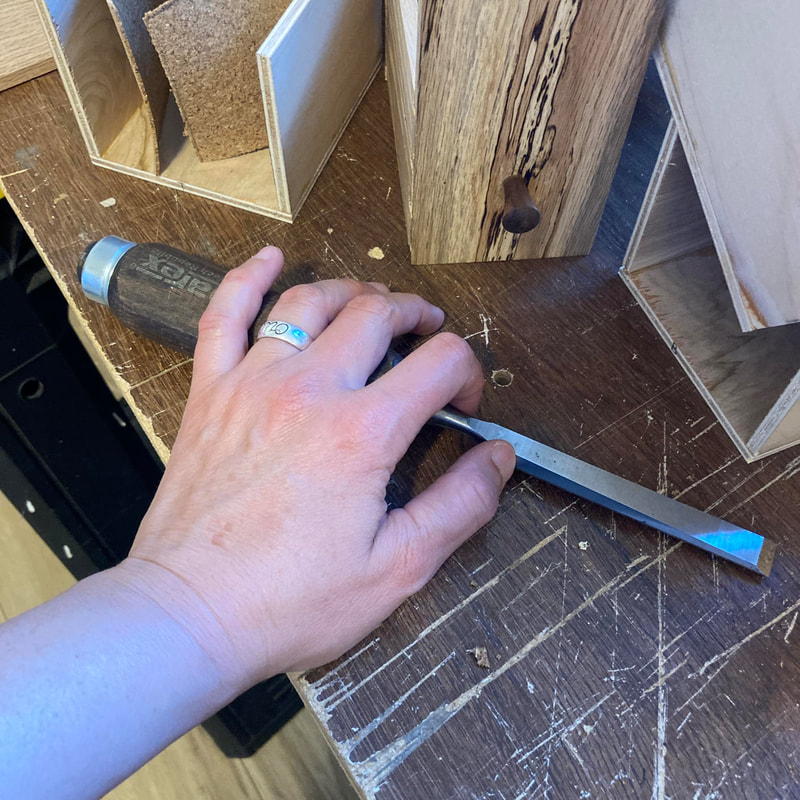 "Festina Lente" is a quote I came across recently that speaks to me about progress gained by not pushing through the frustrating parts. Σπεῡδε Βραδέως for the classical Greek fans among us, festina lente means "make haste slowly." Sometimes the best thing to do is put down the chisel - or the pen, or the social media, or what-have-you when things aren't working out. With age has come wisdom, and not only the ability to put the chisel down, but the peace to be okay with it. The project will be there later when I'm in a better head/heart space. I'll get a lot further not having to re-do things because I kept going when I should have stopped.
What do you do when you find yourself at the crossroads of ambition and frustration? The Art Studio Tour was a lot of fun. Many thanks to everyone who visited Studio 7. Just about all my stock has gone on to forever homes. I'll have to spend some time in the shop on new creations. For those of you who placed special orders, they're all underway.
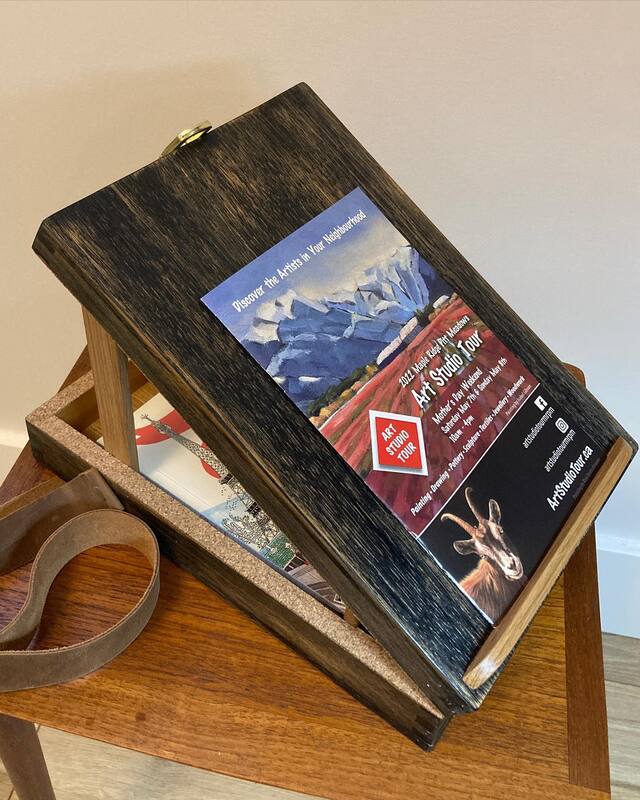
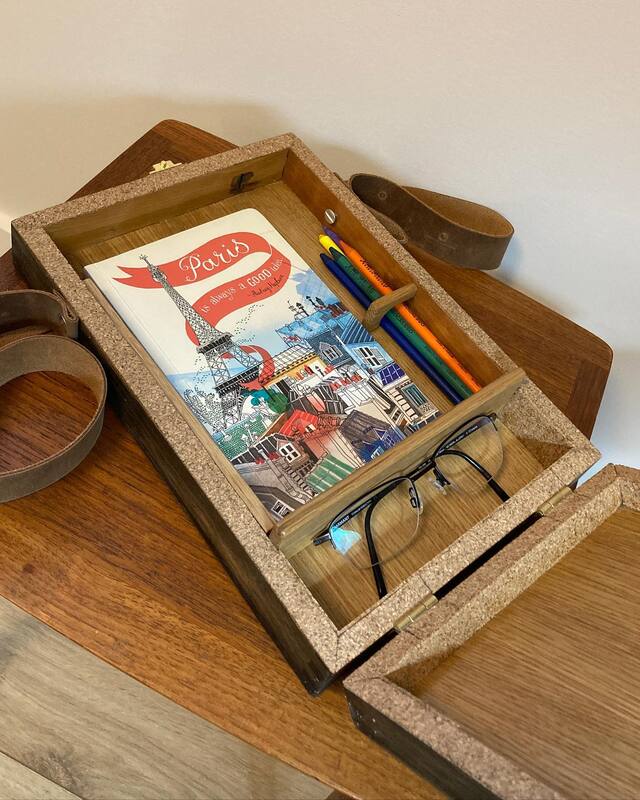
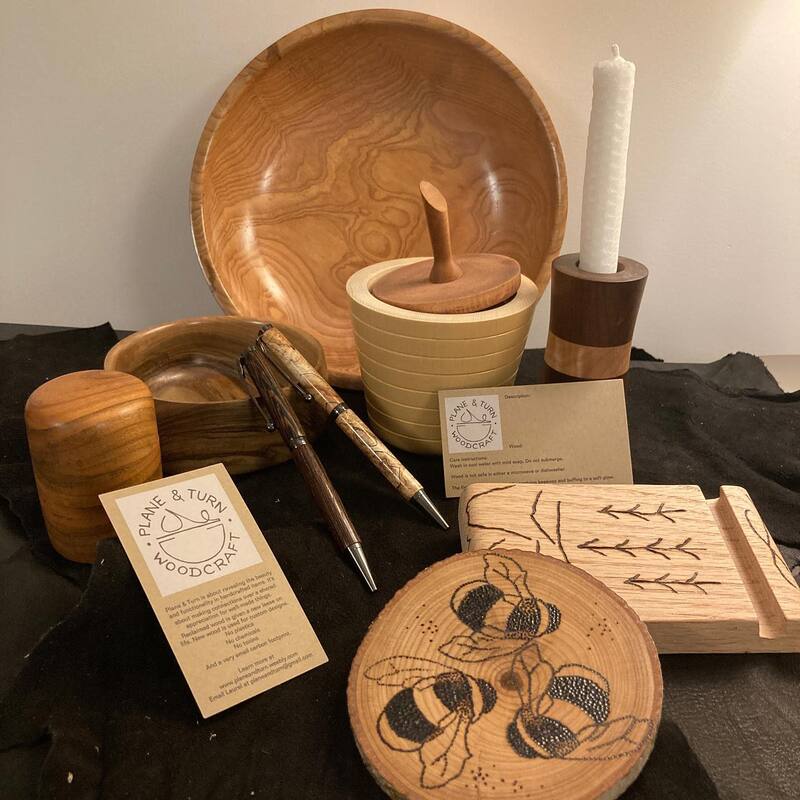
Supporting local artists is important for the whole community. The arts bring vibrancy to the life of a neighbourhood, city or region. Creative expressions are informed by the surrounding landscape, people, and experiences. What better way to build community than over the shared appreciation for something beautiful.  I'm very excited to be part of the 2022 Maple Ridge/Pitt Meadows Art Studio Tour. It's exciting to be part of the community of artists here in Maple Ridge & Pitt Meadows. I've been very busy making new things, learning new skills, and discovering a whole new realm of possibilities for the kind of work I do. Click the button below to learn more about the tout and plan your route with the interactive map. Here's a preview of some pf what I'll have at Studio #7 With the blank ready to work on the lathe, it's time to turn the inside. As it turns out, there isn't any magical, tiny lathe that woodturners place inside the blank after all. That would be some massive cylinder big enough to machine on the inside! For an inside out ornament at this stage, the inside is currently on the outside. 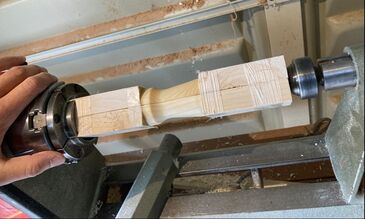 You'll have to use a little imagination to understand by seeing only the negative space. What isn't there is what you'll see better when this is finished. After this all that fibre tape comes off and each of the four pieces is turned completely around and this time glued together. Whatever changes, corrections, or fixes are needed has to happen before glue-up. 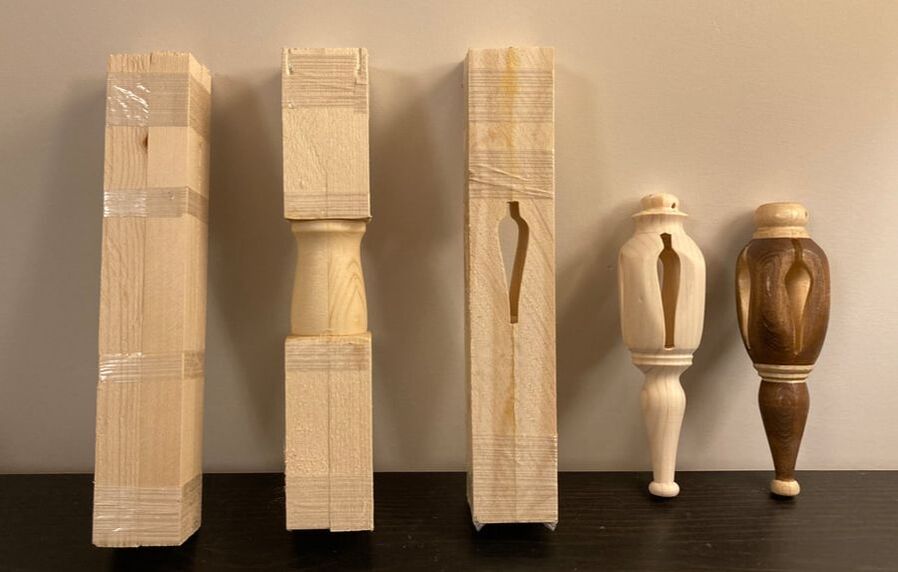 When the pieces are glued together you get the middle example in the photo above. It's much clearer now what I mean by what isn't there becomes more visible.
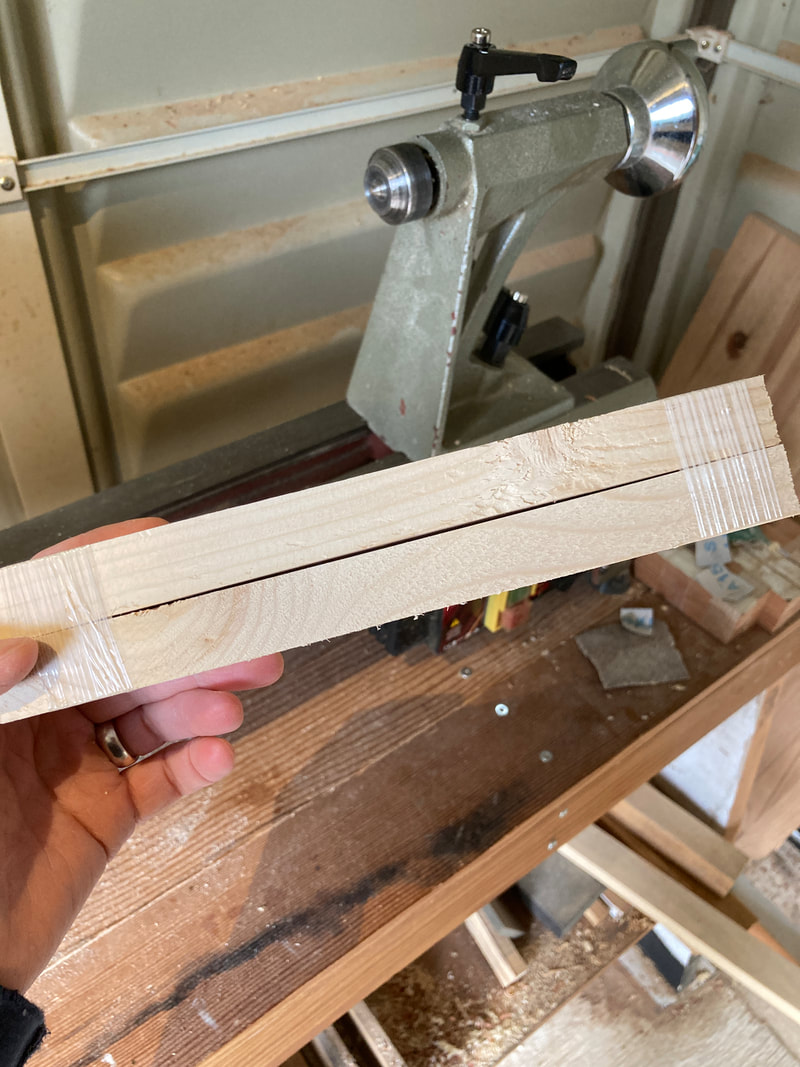
The exterior silhouette is turned, finish applied, and voila! The biggest question now is if you'll hang it with string, thread, ribbon, or a hook. Decisions, decisions. I hope this series was enjoyable for you and you learned something new. Happy holidays. One would think, with reasonable surety, that once the wood has been cut to short lengths, movement would no longer be an issue. One would be mistaken. It's important that the initial grouping of the four-piece bundles be gap-free. This will be important for the second turning when the seams all need to fit together neatly. The bundles are grouped with fibre tape at the ends. In short order, a gap will develop in the middle of the span between taped ends. 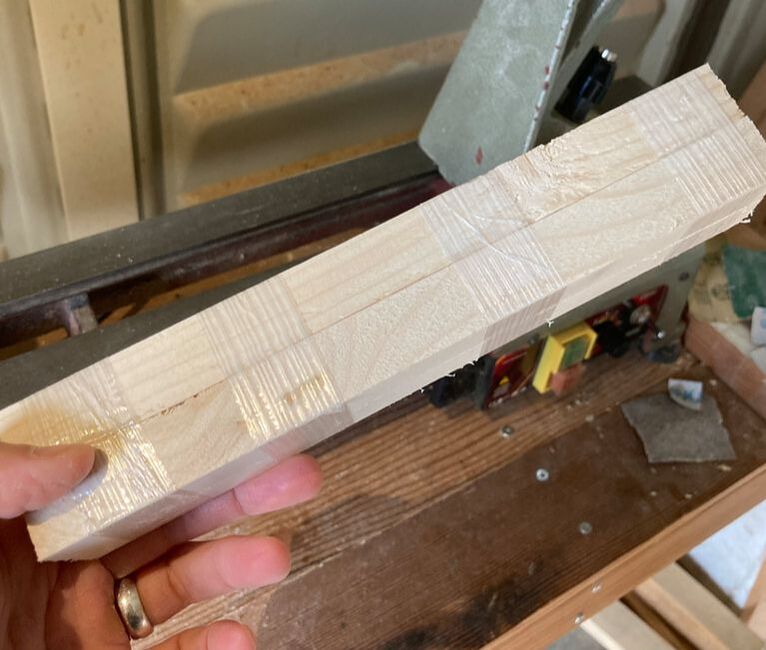 a A couple more bindings on either side of centre, and finally(!) the bundles have been convinced to be proper squares.
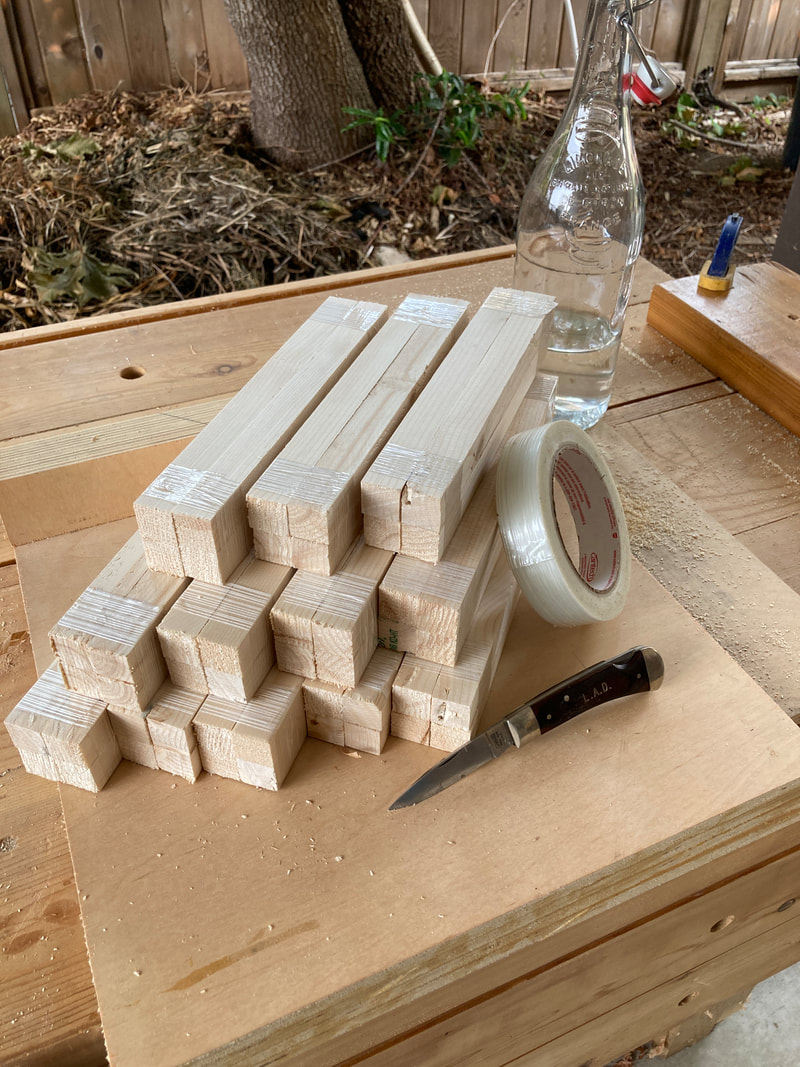
I knew a roofer once who practiced Zen Buddhism. He shared with me a prayer discipline he practiced at work. He would take a piece of chalk and write a Zen prayer on the underside of each of the roof shingles. The entire house would be covered in silent prayers for the well-being of the occupants. There are opportunities to connect with the Divine in all places - even in the wood shop! If you're inclined to offer prayers such as my Zen Buddhist roofer friend, you might be inclined to write a prayer, a character or image, a love note or a kind word on the ornament at this point. No one will see it when the ornament is done, but you will have inscribed into it a blessing that will radiate through it as long as it exists. Next comes the fun part - the turning! Come back again for the next exciting episode of inside out ornament turning. Now that the overall design is determined, it's on to preparing the materials. For this ornament, a 1x10 pine board from the local home centre will provide enough wood for several ornaments. While the board is square and flat and dry when it arrives in the shop, it quickly loses all those great qualities when it's cut into its component parts. The photo below shows just how much movement happens when the board is ripped into strips. Left on its own for too much longer and they would twist and bend past the point of usability. 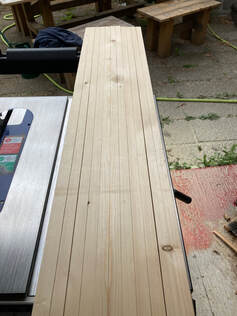 Now that the long cuts are done, it's time to crosscut them to the rough length that the finished ornament will be. For this, I use a shooting board that hooks on to the front edge of my bench. It has a fence that holds the pieces so I can make square cuts. A stop block is fixed so that each piece is the same length. 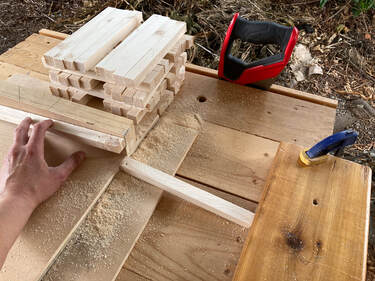 The board for this had very few knots in it, but there were still some that will need to be managed. I tried to orient the pieces so that knots wouldn't interfere with the turning. It's ideal to have the grain running in the same direction for all the pieces, but some had to be flipped so that the knots were out of the way.
Come back again for the next step in turning inside out ornaments. 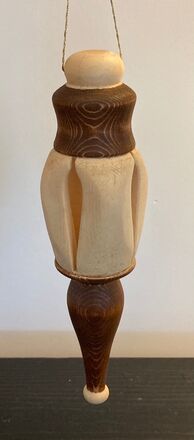 The annual ornament design project is always fun. This year's design features an inside out form. People often wonder how I make these, and I always say I turn the inside first; then watch them try to wrap their heads around how to get a lathe inside such a tiny space. Now seems like a good time to introduce my first blog series on how I make things.
Each post in this series will take you step-by-step through the process of creating a form like this. To begin, I'd like to share a few thoughts on the overall design. For this project, the object was to keep things simple. The species is pine - homage to the various noble pines that take centre stage for several holiday traditions toward the end of the calendar year. In previous years I recycled Christmas trees to create ornaments for the following December. This year found the wood stash was fresh out of old Christmas trees, so off to the lumber yard I went. The finish is deliberately not the traditional red/green/silver/gold motif typically expected. After all we've all been through in the pandemic, I feel compelled to express this holiday decoration in a more organic, unforced way. The finish suggests a hushed approach to holiday activities. Stop in again for the next exciting episode of turning Christmas inside out, when we'll look at how to prepare the pine for turning on the lathe. The journey continues with a new logo. Not being a graphic artist, getting this far was a learning curve in itself. The idea was to blend imagery from both woodturning and flatwork into a single round design. This expression shows a stylized hand plane over a bowl. The title is on top, and a brief description is below. I hope it makes as much sense to others as it does to me. The next step will be to have a brand of this brand to burn into the things I make.
Now back to the shop to make stuff I can put this on! 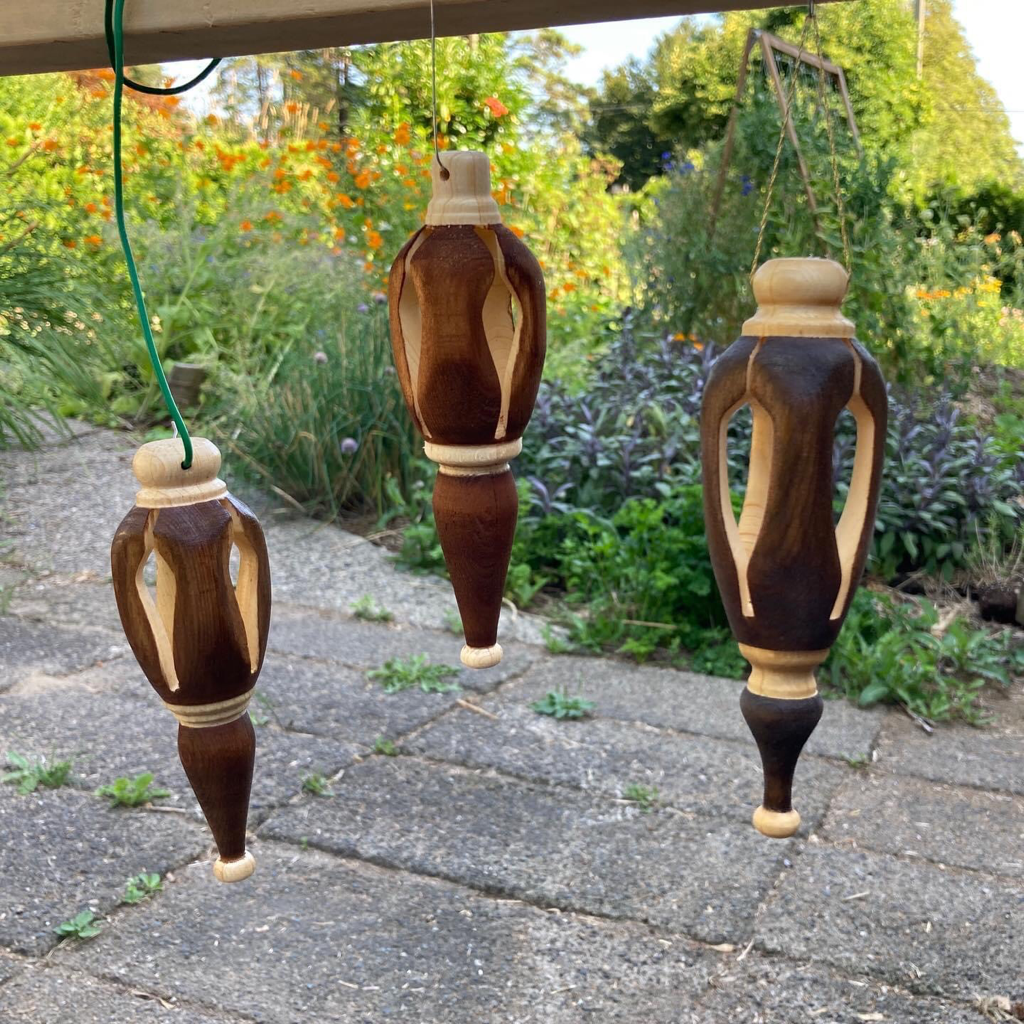 The end of the pandemic will become the beginning of something new. When I consider the changes we’ve all experienced over these many months, I wonder how we can possibly approach life the way we used to. This is the perfect time to take a critical look at the things often presupposed or taken for granted, or in other ways not questioned. The end-of-year holiday season will be here before too long. I've been thinking about how to engage with our annual holiday traditions in ways that recognize a renewed perspective.
This year’s holiday ornament takes a more down-to-earth approach. Plastic-free materials. Chemical-free colours. Designs of a kind, but each one unique. These decorations are made from woods reclaimed, redeemed, and reimagined. Made to live another life of beauty and purpose, these ornaments may just be the beginning of the next chapter of your holiday story. 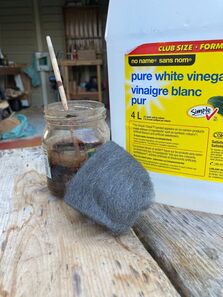 This year’s Christmas ornament design is under way in the wood shop. In keeping with a shift toward sustainable production, and eliminating VOC chemicals from processes, the finish on this year’s ornament will be a natural ebonizing stain. Household vinegar rapidly oxidizes steel creating a compound that react s with the natural tanins in the wood. Initially, the ebonizing stain goes on brown, but quickly deepens to a rich black that penetrates the wood. The black and white design, while not a traditional colour combination for the holiday season, will bring a unique style to home decorations.
|
The Maker and the MakingI'd like to say I'll let my work speak for itself. How can I do that when there's so much that can be said about it? Archives
October 2022
Categories |


 RSS Feed
